Replacing an old ceiling light is a great way to refresh your home’s interior. Whether you’re upgrading to a modern pendant light, fitting a flush ceiling light or replacing an existing light fitting, it’s important to understand the installation process before getting started.
In this step-by-step guide, we’ll explain how to fit a ceiling light, the tools you’ll need and the essential safety precautions to consider.
IMPORTANT: This guide is for replacing an existing light fitting where the wiring and mounting are suitable. If you are unsure at any point, cannot positively identify the wires, find damaged wiring, or are not confident doing the work safely, stop and contact a qualified electrician.
What You'll Need:
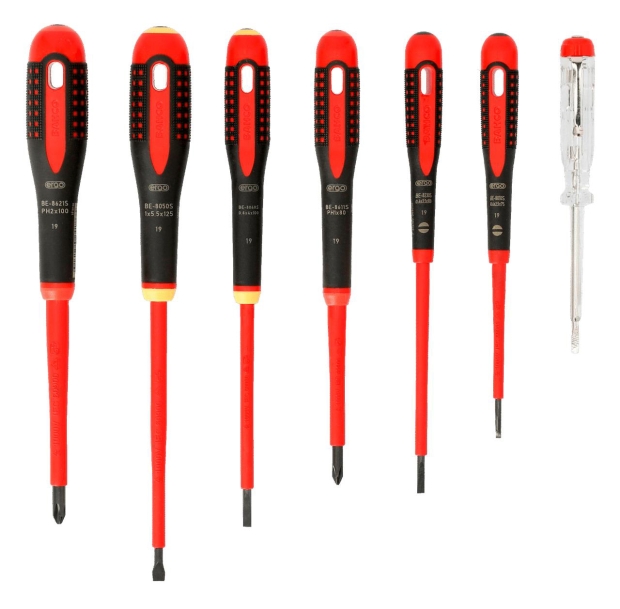
Insulated Screwdrivers
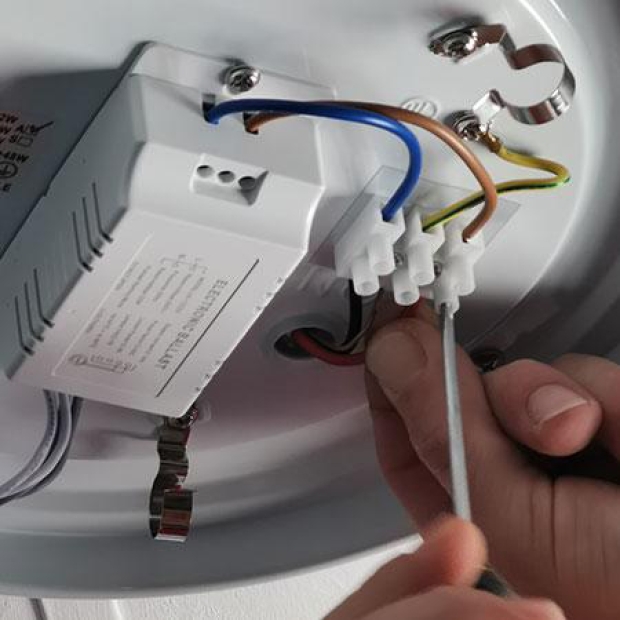
You’ll need insulated screwdrivers to remove the existing light fitting and secure the new one in place. Make sure you have the correct screwdriver sizes for the terminal and mounting screws to avoid damaging them. Always isolate the electrical supply before starting work.
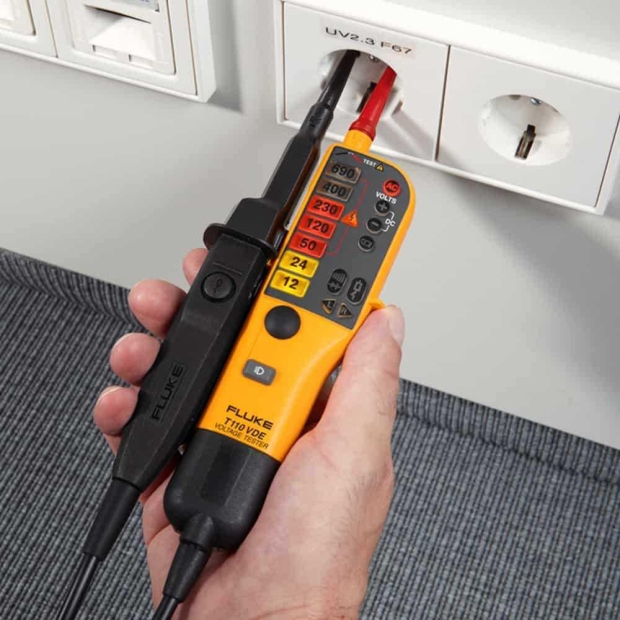
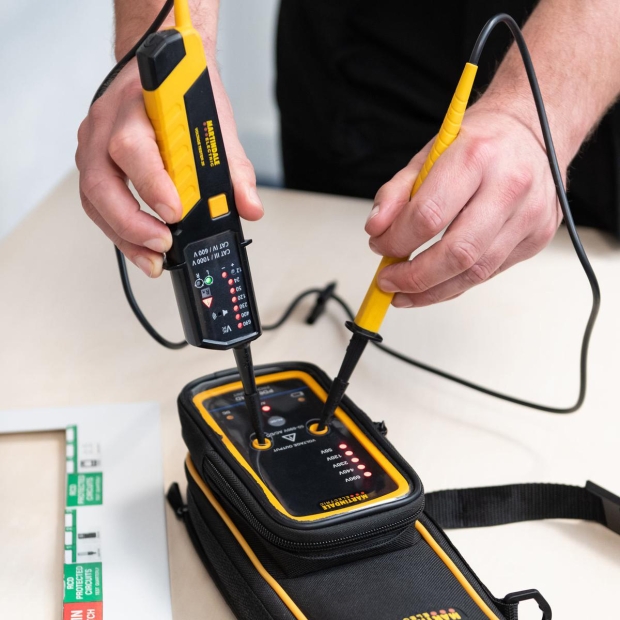
Electrical Voltage Tester
A suitable two-pole voltage tester and proving unit are essential for confirming that the electrical circuit is dead before starting work. The tester should be checked before and after use to ensure it’s functioning correctly. A non-contact voltage pen alone is not sufficient to confirm that a circuit is safe to work on. If you’re unfamiliar with safe isolation procedures, contact a qualified electrician.
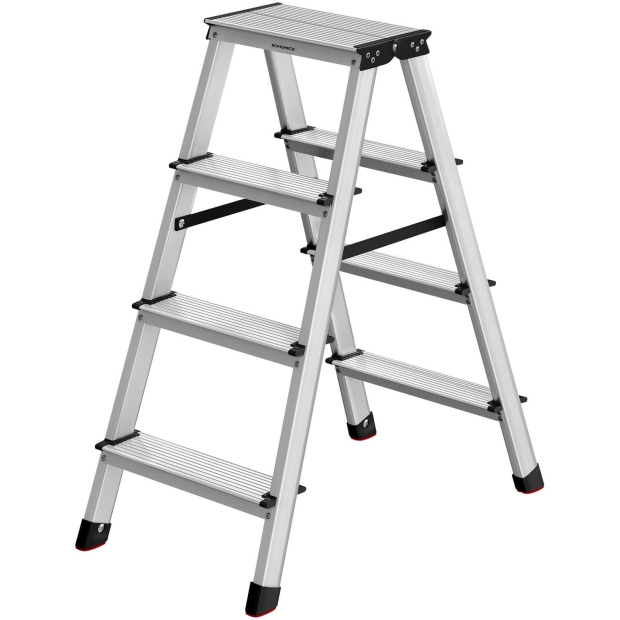
Step Ladder
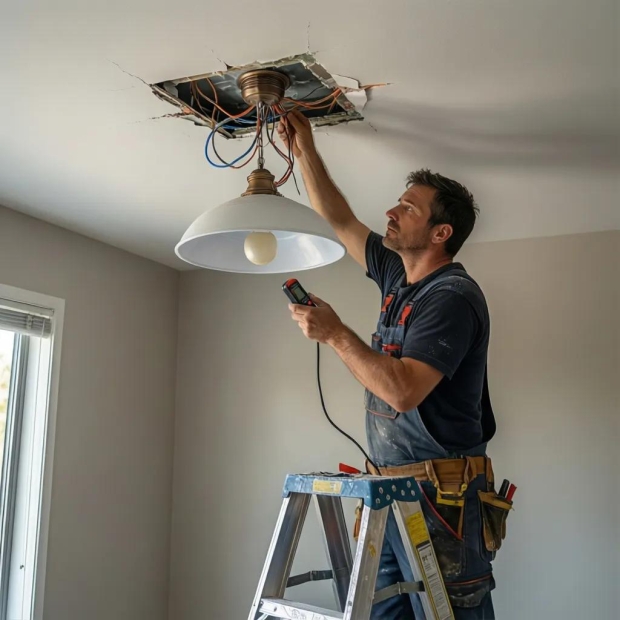
Use a sturdy step ladder to reach the ceiling light safely and comfortably. Position it on a flat, stable surface and make sure you can access the fitting without stretching or overreaching. Avoid standing on the top step unless the ladder is specifically designed for this purpose.
Step-by-Step Instructions:
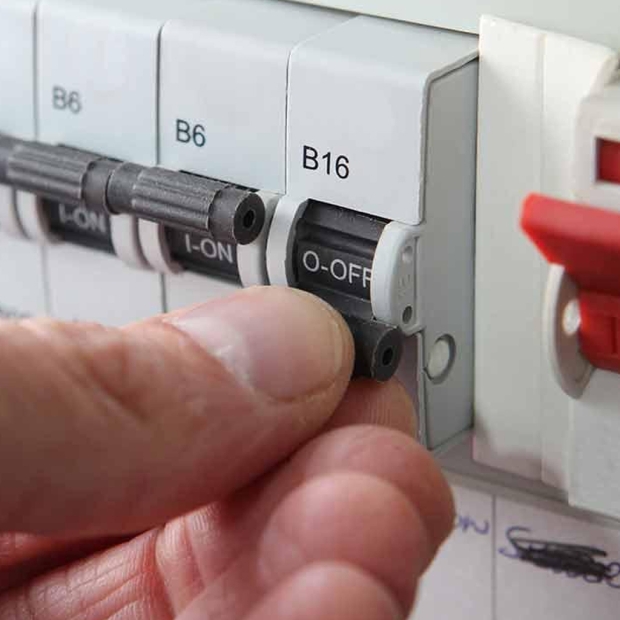
Step 1. Isolate the Power
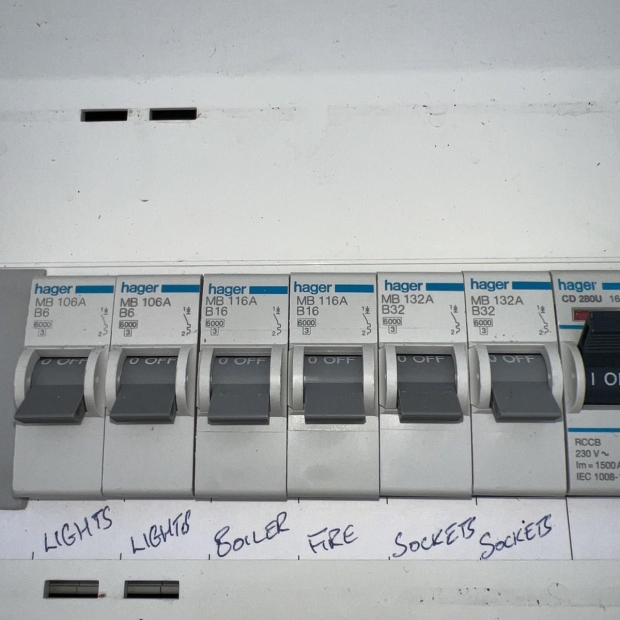
Turn off the lighting circuit at the consumer unit (fuse box). If you cannot identify the correct circuit, switch off the main switch. Prevent anyone from switching it back on, be sure to tell others you are working.
Step 2. Confirm the Circuit Is Dead
Use a suitable electrical voltage tester and prove it works before testing. Check all relevant conductors at the fitting, then prove the tester again. Do not rely on the wall switch or a non-contact voltage pen alone.
Important: If you don’t know how to safely test the circuit, stop and contact a qualified electrician.
Step 3. Remove the Old Light Fitting
Support the fitting so it cannot fall. Undo the fixing screws and lower it carefully. Photograph the existing connections before disturbing anything. Stop if wires are damaged, brittle, unfamiliar or appear to be part of a complex circuit.
Step 4. Check the New Light Fitting
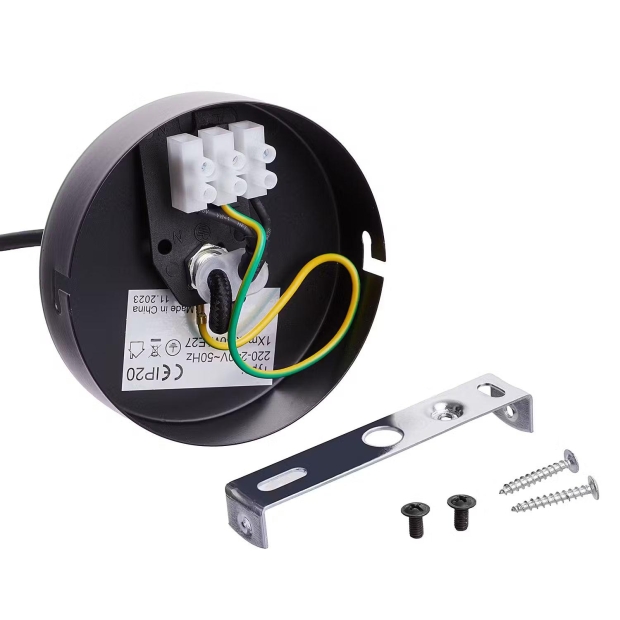
Read the manufacturer's instructions. Check that the fitting is suitable for the location and ceiling. Identify the mounting bracket, terminals and earth requirements. Make sure the ceiling can support the fitting's weight.
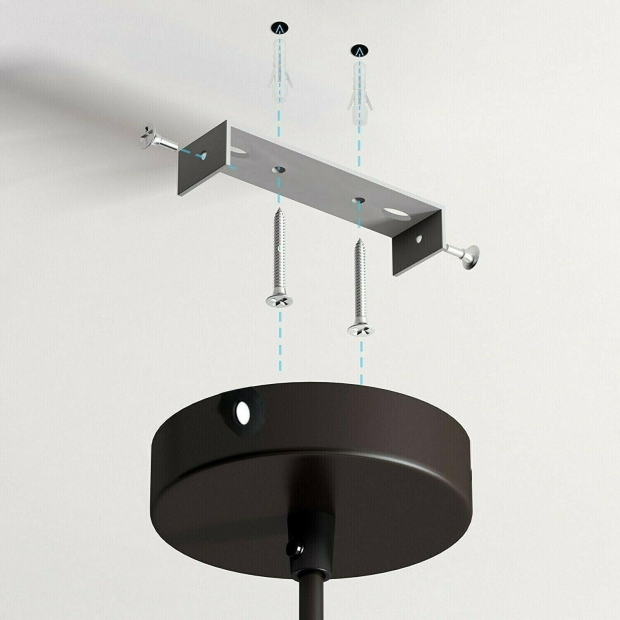
Step 5. Fit the Mounting Bracket
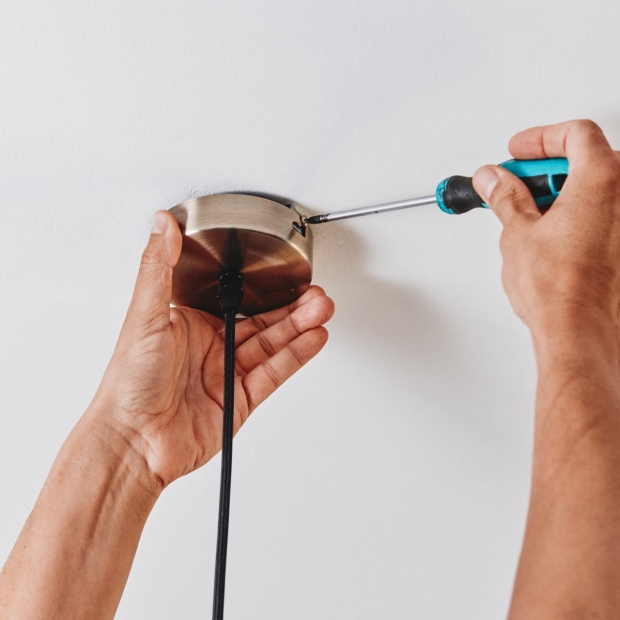
Use appropriate fixings for the ceiling material. Avoid damaging hidden cables or pipes. Check the bracket is firm and level before attaching the light.
Step 6. Connect the Wires
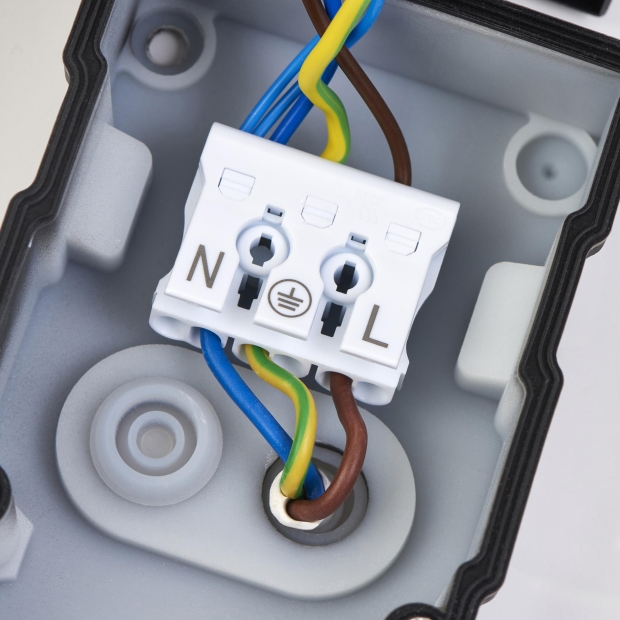
Follow the fitting's wiring diagram and the verified function of each conductor. In modern UK wiring, brown is usually live, blue is neutral, and green/yellow is earth. Do not identify wires by colour alone: older wiring and ceiling circuits can differ. Ensure the earth is connected wherever required. Never omit an earth connection or guess which terminal a wire belongs in.
If the connections are unclear, stop and call a qualified electrician.
Step 7. Secure the Connections
Ensure every conductor is fully inserted into its correct terminal and tightened as instructed. Check that there is no exposed copper outside the terminals. Make sure no insulation is trapped or damaged and the wires are not under strain.
Step 8. Attach the Light Fitting
Carefully position the fitting and secure it with the supplied screws. Keep the wires inside the designated enclosure without pinching them. Confirm the fitting is stable and all covers are correctly in place.
Step 9. Install the Light Bulb (If Required)
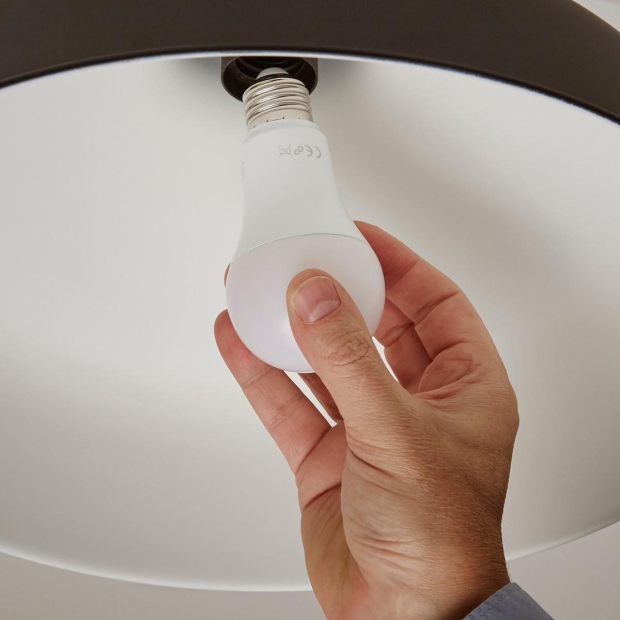
Make sure the power remains isolated. Fit a compatible light bulb of the correct cap type and maximum wattage. Refit any required shades or covers. Integrated LED fittings will usually not require any light bulbs to be connected.
Step 10. Restore the Power
Ensure the fitting is fully assembled and everyone is clear of the work area. Restore the isolated circuit at the consumer unit. If the breaker trips, you hear unusual sounds, or you notice a burning smell, isolate the circuit again if safe to do so and contact an electrician.
Step 11. Test the Light
Operate the wall switch. Check that the light works normally. If it flickers, trips the circuit or behaves unexpectedly, switch off the supply and seek professional help.
Step 12. Final Safety Check
Confirm the fitting is secure and all covers are in place. Check that there are no exposed wires or loose parts. Keep the manufacturer's instructions for future reference.
Do not use the fitting if you have any concerns about the wiring or installation.
Safety Reminder
This guide does not replace electrical training or an inspection where one is needed. In the UK, some electrical work is subject to Building Regulations requirements, particularly in special locations or where new circuits are involved.
If you don’t have the necessary knowledge, skills or equipment to complete any step safely, contact a qualified electrician. It’s always safer to stop than to guess.
Frequently Asked Questions
Do I Need an Electrician to Change a Ceiling Light?
You don’t always need an electrician to replace an existing ceiling light, provided the work can be carried out safely and complies with applicable regulations. However, if the wiring is damaged, unfamiliar or requires modification, you should hire a qualified electrician to complete the installation.
Can I Replace a Pendant Light with a Flush Ceiling Light?
Yes, it’s often possible to replace a pendant light with a flush ceiling light, provided the existing wiring and ceiling structure are suitable. Check that the new fitting is compatible with the installation and that the ceiling can support its weight. Always follow the manufacturer’s instructions and consult a qualified electrician if you’re unsure.
How Long Does It Take to Fit a Ceiling Light?
Replacing an existing ceiling light typically takes around 30 minutes to an hour for someone experienced, although this can vary depending on the type of fitting and the condition of the existing wiring. More complex installations or those requiring additional electrical work may take longer and should be assessed by a qualified electrician.
Still looking for inspiration for your next lighting upgrade? Explore our wide range of ceiling lights to find the perfect fit for your home.
Our Inspiration Articles
We hope this guide has given you a better understanding of what’s involved in fitting a ceiling light. Whether you’re replacing an old fitting or updating your home’s lighting, a new ceiling light can make all the difference to your space. For more lighting ideas, tips and advice, explore our inspiration articles.
Our website uses Cookies to improve the user experience, display personalised ads and track your usage (Google Analytics). Set your preferences.